Your shopping cart is empty!
Menu click here
-
BRANDS
- Kodi professional
- KOMILFO
- PNB
- Kira Nails
- Nika Nagel
- EMI
- UNO
- FOX Nails
- OXXI
- STALEKS
- SILLER
- GRATTOL
- HELLO
- DNKa
- GaMa
- NAILS OF THE DAY
- ULKA dust hood
- LUNAmoon
-
Gel Polish
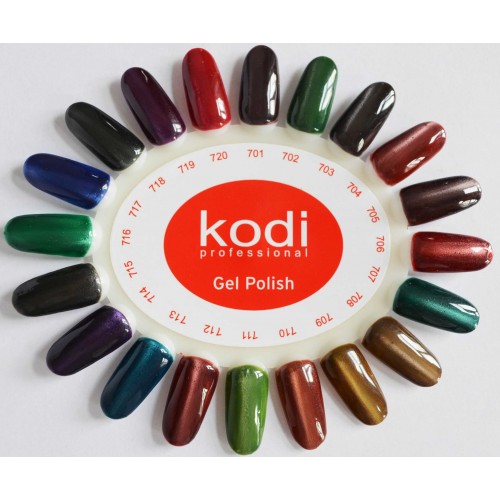
- Gel polish Kodi professional
- Gel polish Nika Nagel
- Emi Lac gel polish 9 ml
- Gel polish GRATTOL
- Gel polish Kira Nails
- Gel polish KOMILFO
- Gel polish OXXI
- Gel polish PNB
- Gel polish SILLER
- UNO gel polish basic collection
- Gel polish FOX
- Gel polish HELLO
- Gel polish DNKa
- Gel polish NAILS OF THE DAY
- Gel polish LUNAmoon
-
Rubber base
- Rubber base Kodi professional
- Rubber base KOMILFO
- Base gel SILLER
- EMI Base gel
- Rubber base GRATTOL
- Rubber base Kira Nails
- OXXI Base gel
- Rubber base PNB
- UNO Base gel
- Rubber base FOX
- Rubber base HELLO
- Rubber base DNKa
- Rubber base NAILS OF THE DAY
- Base gel LUNAmoon
-
KODI
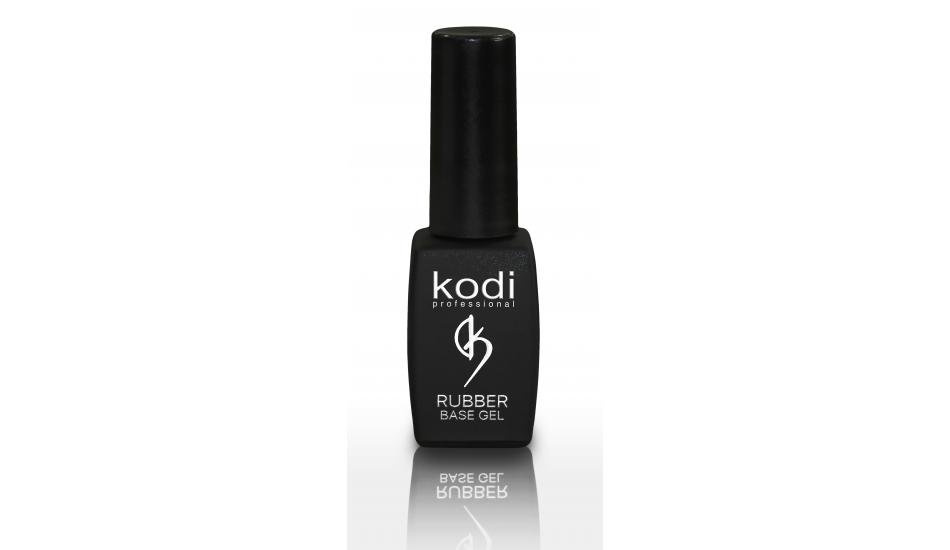
- Rubber base Kodi professional
- Rubber top Kodi professional
- Acryl Gel Kodi professional
- Acrylic powder
- Decor Kodi professional
- Eyelashes KODI
- Kodi gel extention
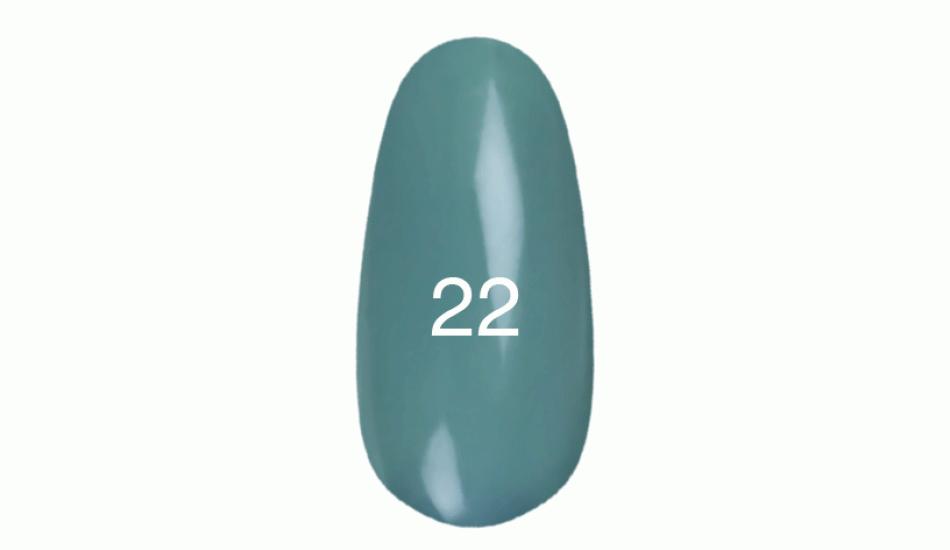
- Kodi gel polish
- Pedicure disc Kodi professional
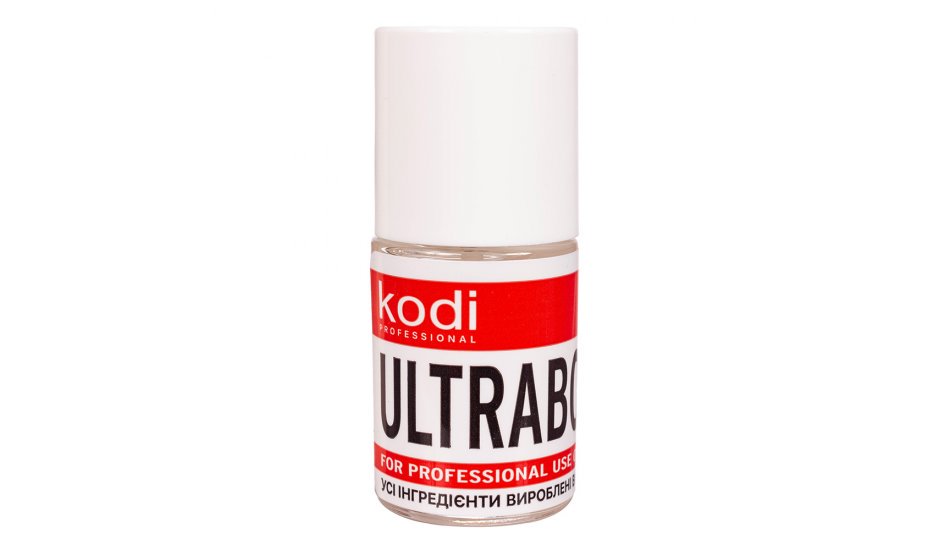
- Special liquids
-
Rubber top
- EMI Top gel
- Rubber top GRATTOL
- Rubber top Kira Nails
- Rubber top Kodi professional
- Rubber top KOMILFO
- Rubber TOP OXXI
- Rubber top PNB
- Top gel SILLER
- Rubber top FOX
- Rubber top HELLO
- Rubber top DNKa
- Rubber top NAILS OF THE DAY
- Top gel LUNAmoon
- HELLO +
- OXXI +
- PNB +
-
DNKa
- Gel polish DNKa
- Rubber base DNKa
- Rubber top DNKa
- Acryl gel DNKa
- Gel extention DNKa
- Special liquids DNKa
- Brush DNKa
- GAMA +
- ULKA hoods +
-
KOMILFO
- Gel polish KOMILFO
- Rubber base KOMILFO
- Rubber top KOMILFO
- Gel paint Komilfo
- Spider gel KOMILFO
- Acryl Gel KOMILFO
- Aqua drops KOMILFO
- Forms Komilfo
- Gel extention Komilfo
- Mirror powder KOMILFO
- Pigment Effect KOMILFO
- PolyGel KOMILFO
- Special liquids KOMILFO
- UV LED Lamp Komilfo
- Manicure tools Komilfo
- Brush KOMILFO
- EYELASHES +
-
Liquids
- Cleanser (Remover sticky layer)
- Cuticule remover
- Tips Off (Artifical nail remover)
- Primer
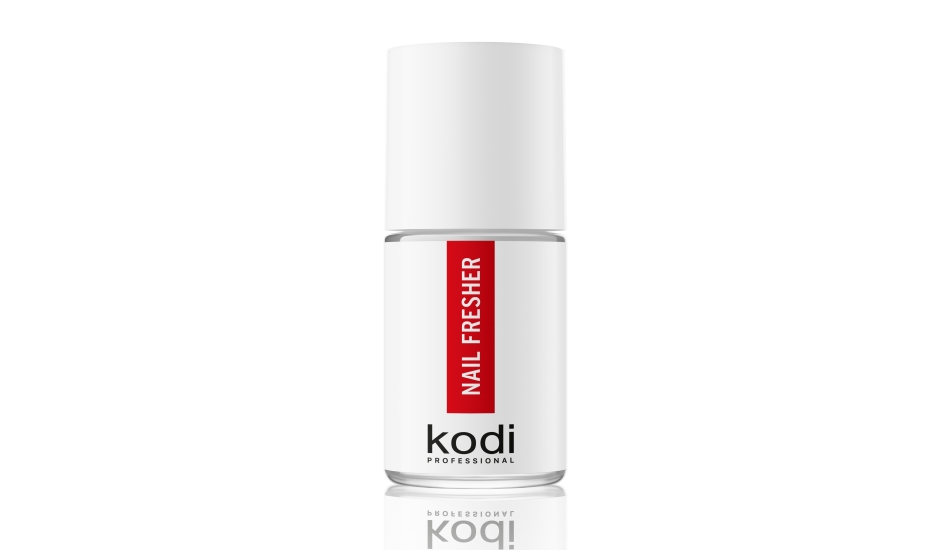
- Nail fresher Degreaser
- Cuticle Oil
- Special liquids DNKa
- Special liquids NAILS OF THE DAY
- Special liquids LUNAmoon
-
Acryl gel
- Acryl Gel OXXI
- Acryl Gel FOX
- Acryl Gel GRATTOL
- Acryl Gel Kira Nails
- Acryl Gel Kodi professional
- Acryl Gel KOMILFO
- Poly gel Siller
- PolyGel KOMILFO
- Acryl gel DNKa
- Poly gel NAILS OF THE DAY
- Liquid Light Acrygel LUNA
-
Gel
- Funny gel Kodi professional
- 1 phase gel
- Build It Up Gel Kodi professional
- Flower gel Kodi professional
- Gel extention Komilfo
- Gel extention PNB
- Gel paint Komilfo
- Grattol Ceramic Camouflage Gel
- Grattol Farfor Camouflage Gel
- Grattol FLASH Camouflage Gel
- Grattol Gel Crystal Bright
- Grattol Murano Camouflage Gel
- 3 phase gel
- Matifyng gel for nail
- EXPERT gel system
- Gel paint Kodi professional
- Gel extention HELLO
- Gel extention DNKa
- Gel extention NAILS OF THE DAY
- Gel extention LUNAmoon
- Builder self-level gel Kodi professional
- Gel extention GaMa
- Kodi spider gel
- Forms +
- Acrylic Nail +
-
Tools
- STALEKS
- Pedicure disc Kodi professional
- Drill bits
- Manicure tools Komilfo
- Equipment Kodi
- Manicure tools Komilfo
- Armrest Kodi professional
- ULKA dust hood
- Decor +


Write a Comment